
Your home’s exterior serves as an unwavering protective shield against harsh weather, temperature fluctuations, and environmental wear. From driving rain and heavy snowfall to intense UV radiation, exterior surfaces bear the brunt of every seasonal shift. When functioning correctly, a well-maintained exterior keeps indoor living spaces dry, comfortable, and energy-efficient. However, even small compromises in your home’s outer shell can lead to catastrophic water damage, wood rot, pest infestations, and compromised structural integrity.
Maintaining a resilient exterior requires more than just curb appeal touch-ups; it demands a systematic, proactive approach to monitoring and preserving every layer of the building envelope. By conducting regular visual checks, clearing drainage pathways, and addressing small surface defects before they escalate, homeowners can avoid tens of thousands of dollars in emergency restoration costs while maximizing overall property value.
This detailed guide outlines practical, actionable steps for maintaining your home’s outer defenses. By following these proven maintenance strategies, you can extend the operating lifespan of your building materials and protect your property investment for decades to come.
Step 1: Managing Drainage Infrastructure and Upper-Level Water Flow
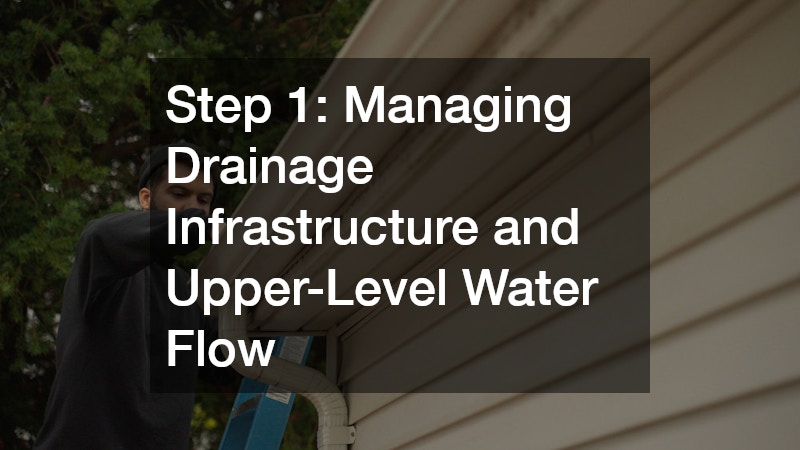
Water is the single greatest threat to your home’s structural stability. When rain lands on your property, your primary objective is to channel it away from upper structures, exterior walls, and foundation footings as quickly and efficiently as possible. Failing to manage water flow allows moisture to collect near fascia boards, soak into window frames, or pool around foundation walls, causing concrete cracking and basement flooding.
A fully functional gutter system serves as the first line of defense against uncontrolled water shedding:
- Biannual Debris Removal: Clear leaves, pine needles, and grit from channels every spring and autumn. Clogged channels trap heavy standing water that causes hangers to pull away from the roofline.
- Pitch Verification: Ensure gutters maintain a subtle downward slope—typically 1/4 inch of fall for every 10 feet of run—toward downspouts to prevent stagnant pooling.
- Downspout Extension: Direct discharge lines at least 4 to 6 feet away from foundation walls using flexible extenders, splash blocks, or underground drainage lines.
- Joint Sealing: Check corner seams and end caps for visible drips or degraded sealant, applying high-grade exterior silicone to stop active leaks.
In addition to channel cleaning, inspect the underlying wood fascia boards and soffits for soft spots, bubbling paint, or dark water stains. If high-pitch rooflines or hard-to-reach gables make DIY maintenance unsafe, partnering with a dependable gutter service ensures that channels are cleared, pitched correctly, and securely fastened to your home’s structural framing.
Step 2: Conducting Overhead Structural Inspections and Minor Fixes
The upper overhead structure of your home absorbs relentless solar radiation, thermal expansion, and impact from windborne debris. Over time, these environmental forces degrade surface materials, making routine visual inspections critical for identifying micro-failures before rain penetrates interior ceilings and living quarters.
Twice a year, conduct a ground-level inspection using binoculars or carefully ascend a secured ladder to evaluate surface conditions:
- Shingle Integrity: Look for curled edges, cracked tabs, missing field shingles, or excessive loss of protective mineral granules pooling in your drainage channels.
- Penetration Flashing: Inspect the metal flashing installed around chimneys, skylights, plumbing stacks, and exhaust vents. Rust, loose sealant, or lifted edges create prime pathways for water entry.
- Valley Assessment: Ensure that roof valleys—where two slopes meet—are entirely free of accumulated leaf debris, twigs, or ice dams that block natural drainage.
When minor defects are identified early, localized spot repairs can prevent widespread moisture intrusion. Replacing a few damaged shingles or applying fresh polyurethane sealant around a loose pipe boot is a cost-effective alternative to structural remediation. For complex multi-pitch layouts or high-elevation repairs, hiring a licensed roofer ensures that safety protocols are followed while addressing hidden structural defects. Promptly scheduling targeted roof repair work prevents water from migrating into subflooring, insulation, and drywall.
Step 3: Upgrading and Maintaining Exterior Wall Cladding
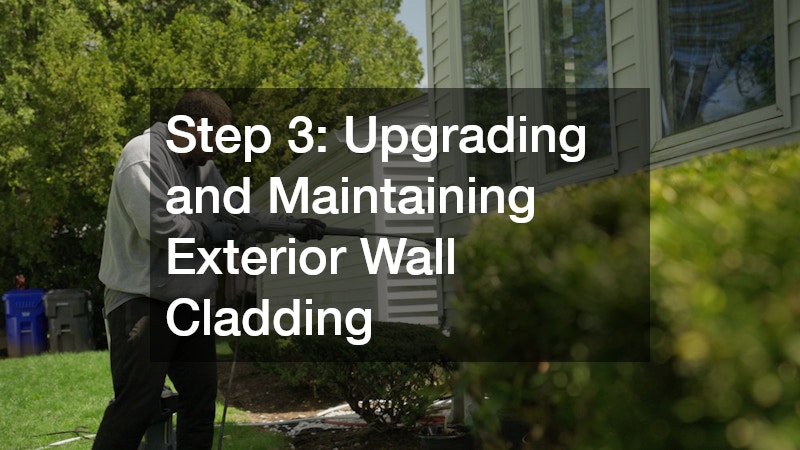
Your home’s siding acts as a continuous protective raincoat over timber framing, insulation, and internal drywall. Whether your home features vinyl, fiber cement, engineered wood, or traditional stucco, exterior wall cladding must remain fully sealed, clean, and structurally sound to repel wind-driven moisture and airborne pollutants.
Maintaining wall cladding requires a combination of gentle surface cleaning and vigilant structural seam monitoring:
- Controlled Power Washing: Wash exterior walls annually using low-pressure nozzles paired with mild exterior cleaners. Avoid blasting high-pressure water upward under lap siding seams, which forces moisture behind weather barriers.
- Caulk Seam Maintenance: Inspect elastomeric caulk around window casings, door frames, corner boards, and material transitions. Scrape away cracked, dried, or missing sealant and apply fresh exterior caulk.
- Clearance Space: Maintain at least 6 inches of clearance between the bottom edge of siding panels and surrounding soil or garden mulch to prevent wood-boring insects and moisture wicking.
- Vegetation Trimming: Prune tree branches, thick bushes, and climbing vines at least 2 feet away from exterior walls to prevent surface abrasion and reduce trapped humidity.
When individual panels become warped, cracked, or severely damaged by hail, replacing those sections immediately prevents rot from spreading to wall studs. Working with professional siding companies guarantees that replacement materials match existing factory finishes and expansion tolerances. Utilizing a certified siding service for panel replacements or complete wall re-cladding ensures that secondary weather-resistant barriers and window flashing tapes are installed according to modern building codes.
Step 4: Navigating Major Overhead System Upgrades and Full Replacements
Even with immaculate seasonal care, every primary covering material reaches the end of its functional lifespan. Standard three-tab asphalt shingles generally last 15 to 20 years, architectural shingles perform for 25 to 30 years, and metal or tile systems can endure for half a century or more. Recognizing when spot maintenance is no longer economically viable allows you to plan major system overhauls on your own timeline rather than during an emergency storm event.
When planning a complete system replacement, evaluate material performance characteristics against your local climate conditions:
- Impact Resistance: In areas prone to hail, select Class 4 impact-resistant materials to reduce future storm damage risks and potentially qualify for homeowner insurance premium discounts.
- Thermal Performance: Consider cool-roof technology, highly reflective coatings, or ventilated standing-seam metal systems that reflect solar heat and reduce summer cooling costs.
- Underlayment Quality: Upgrade from standard organic felt paper to synthetic self-adhering ice and water shield underlayments along eaves, valleys, and low-slope intersections.
If you choose modern standing-seam steel or aluminum panels for superior weather resistance, partnering with a specialized local metal roofing contractor ensures proper panel crimping, thermal movement allowance, and snow guard integration. For traditional asphalt or composite installations, securing a licensed roofing contractor who provides clear material warranties and detailed scope-of-work documentation guarantees that your investment is protected for decades.
Step 5: Sealing Foundations, Windows, and Entry Portals
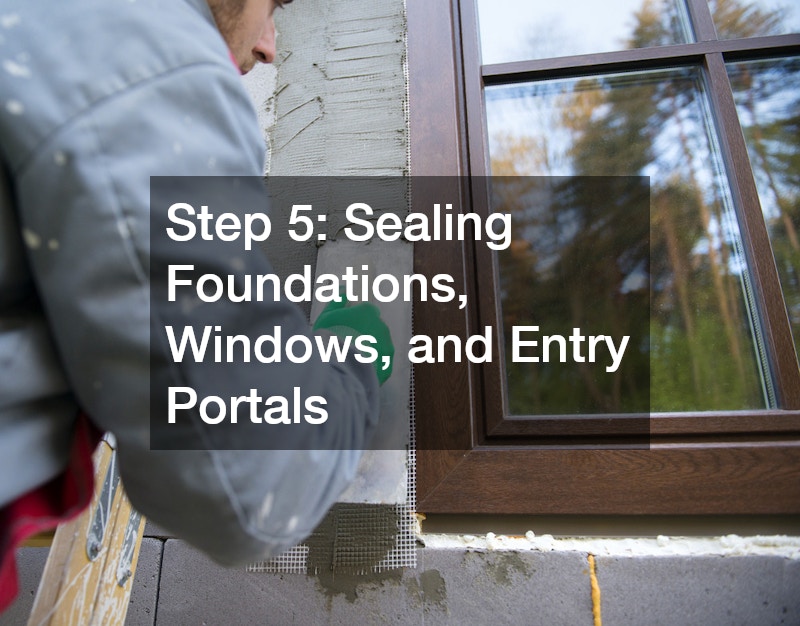
A complete home exterior maintenance strategy must address the critical entry portals and foundation interfaces where different building materials join together. These junction points expand and contract at different rates during seasonal temperature swings, creating subtle gaps that allow conditioned indoor air to escape while letting moisture and pests creep in.
Focus on sealing perimeter boundaries to maintain envelope tightness:
- Foundation Crack Repair: Inspect exposed concrete or masonry foundation walls for hairline cracks or spalling. Seal non-structural surface cracks with hydraulic cement or high-grade masonry polyurethane.
- Weatherstripping Upgrades: Test door and window seals by checking for light or drafts along perimeter frames. Replace worn foam or vinyl weatherstripping to lower energy bills and keep humidity out.
- Basement Window Wells: Install clear acrylic covers over window wells to keep rain, leaves, and snow from accumulating directly against subterranean glass.
- Utility Pass-Throughs: Fill gaps surrounding exterior hose bibs, electrical conduits, HVAC line sets, and dryer vents using expanding foam or heavy-duty exterior sealant.
Maintaining these perimeter entry points prevents air leakage, lowers heating and cooling expenses, and stops moisture from accumulating behind interior drywall baseboards.
Step 6: Protecting Porches, Decks, and Outdoor Living Surfaces
Decks, porches, and balconies form the transition between your living spaces and the surrounding yard. Because these horizontal structures are constantly exposed to direct sunlight, pooling rain, and heavy foot traffic, they require dedicated upkeep routines to remain safe and structurally sound year after year.
Maintaining wooden and composite elevated decks involves systematic structural checks and protective surface treatments:
- Joist and Ledger Board Audits: Inspect the connection point where your deck attaches to the home’s primary framing. Ensure ledger boards are secured with heavy-duty lag screws or bolts rather than nails, and verify that copper flashing prevents water from pooling behind the attachment point.
- Fastener Tightening: Check for popped nails, loose screws, or wobbly guardrail posts caused by seasonal timber movement. Replace corroded hardware with structural stainless steel or coated exterior screws.
- Surface Washing and Sealing: Wash wooden deck surfaces each spring using a dedicated oxygen-bleach cleaner that lifts embedded dirt without damaging wood fibers. Apply a high-grade penetrating semi-transparent stain every two to three years to block destructive UV rays and water absorption.
- Baluster and Railing Safety: Test guardrails to verify they withstand lateral force without giving way. Ensure vertical balusters are spaced no more than 4 inches apart to keep children and pets safe.
Addressing soft deck boards, loose steps, and framing rust early prevents catastrophic structural failures while preserving the beauty and usability of your outdoor gathering spaces.
Step 7: Managing Attic Ventilation and Thermal Envelope Boundaries
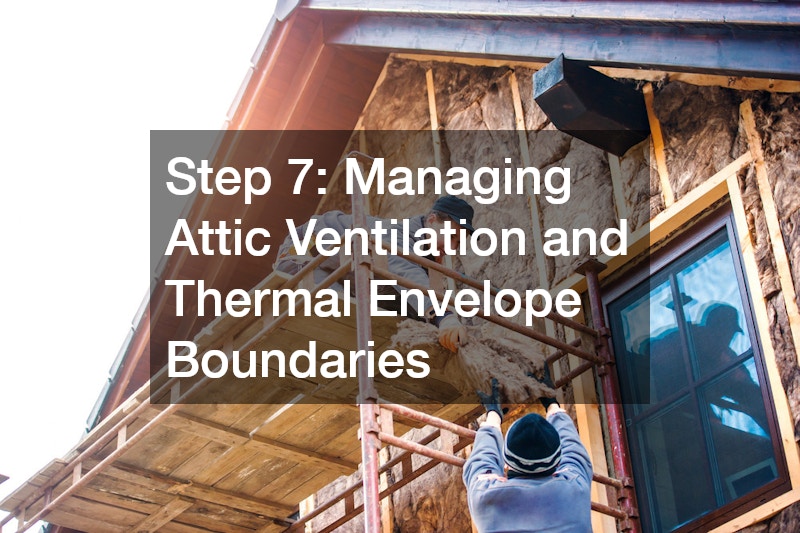
The internal climate of your attic directly impacts how long your exterior materials endure. Without adequate airflow through soffits and ridge vents, warm moisture from cooking, bathing, and laundry rises into the upper home and condenses on the underside of timber roof decking. During colder months, this trapped humidity breeds hidden mold, rots structural rafters, and accelerates shingle decay from beneath.
Optimizing upper ventilation protects both internal structural framing and external coverings:
- Soffit Vent Inspection: Ensure insulation batts or blown-in cellulose are not blocking soffit intake vents. Install rigid plastic insulation baffles against the underside of the deck to maintain an unobstructed airflow pathway from the eaves up to the ridge.
- Attic Floor Air Sealing: Seal gaps around ceiling light fixtures, attic access hatches, plumbing stacks, and chimney chases using expanding foam or fire-rated caulk. Stopping warm, humid house air from entering the attic reduces condensation risks significantly.
- Balanced Airflow Ratio: Verify that your upper space maintains a balanced 1:1 ratio between intake air entering through low soffit vents and exhaust air exiting through high ridge or gable vents.
- R-Value Insulation Checks: Ensure attic insulation meets recommended thickness guidelines for your regional climate zone to prevent heat transfer through the ceiling.
Creating a healthy, well-ventilated attic cavity regulates upper temperatures, mitigates winter ice dam formations along eaves, and prolongs the operational life of your entire overhead structural assembly.
Step 8: Preparing Exterior Surfaces for Seasonal Extreme Weather
Seasonal shifts bring distinct environmental hazards that test your home’s exterior defenses. Preparing your property before severe summer heat, autumn coastal storms, or winter freeze cycles arrive ensures your building envelope remains resilient when weather events strike.
Implement a seasonal preparation routine tailored to your local environment:
- Pre-Winter Freeze Prep: Disconnect all garden hoses from outdoor spigots, drain exterior lines, and insulate hose bibs with foam covers to prevent frozen pipes from bursting inside exterior walls.
- Storm Prep and Tree Trimming: Inspect surrounding tree canopies for dead, diseased, or overhanging limbs that could snap during high-wind storms and crush upper house structures.
- Ice Dam Prevention: In cold climates, ensure attic spaces are properly insulated and ventilated to keep roof deck temperatures uniform, preventing melting snow from refreezing at eaves and forcing water under shingles.
- Deck and Hardscape Sealing: Wash and seal wooden decks, concrete patios, and brick pavers every two to three years to prevent moisture absorption, freeze-thaw spalling, and surface rot.
Taking the time to execute these preventative seasonal tasks minimizes unexpected property damage and keeps your outdoor living spaces operating safely year-round.
Step 9: Auditing Long-Term System Performance and Trade Services
Over the lifetime of your home, maintaining detailed records of exterior repairs, material warranties, contractor invoices, and inspection dates simplifies ongoing upkeep and increases buyer confidence when you eventually list the property for sale.
Establishing an annual professional inspection routine provides an objective assessment of hard-to-see building components:
- Post-Storm Audits: Schedule professional evaluations after major hail, wind, or ice storms to document damage for potential insurance claims within policy filing windows.
- Attic Moisture Checks: Inspect the underside of roof decking from inside your attic space during winter, looking for frost accumulation, dark mold spots, or damp insulation that indicates poor ventilation.
- Warranty Maintenance: Keep records of professional maintenance visits to satisfy manufacturer warranty requirements, which often demand proof of routine care.
Relying on established roofing services for comprehensive annual audits ensures that micro-tears in flashing, loose ridge caps, and subtle storm damage are identified early. Professional technicians possess specialized equipment, such as thermal imaging cameras and moisture meters, to detect hidden leaks beneath surface materials.
For aging properties where materials have reached the end of their operational life, investing in complete roof replacement services restores total structural protection, dramatically improves home insulation performance, and updates your home’s architectural appearance. Choosing certified trade professionals for your residential roofing projects guarantees that tear-off, decking replacement, underlayment installation, and ventilation upgrades meet all current local building codes.